FOR WATER-ACTIVATED WALLPAPER
Water-Activated
Wallpaper Instructions
Wallpaper Instructions
PLEASE NOTE: Please only install on smooth surfaced walls.
Follow these steps to ensure correct installation for years of enjoyment!
Follow these steps to ensure correct installation for years of enjoyment!

It’s totally possible and very common to install peel-and-stick wallpaper by yourself. But, the task can be quicker and easier with two humans. One person can hold the panel up and smooth onto the wall while the second person peels the backing off and ensures the lines are straight.
1. Unroll + Submerge.
Slightly unroll Panel #1 and submerge it in the basin of water. Once submerged, the wallpaper should be loosely rolled so that the water can activate the adhesive on the back of the paper. Count to 10 and remove it from the water. manufacturer’s recommendation.
2. Smooth + Squeegee + Repeat.
Carefully smooth down the wallpaper onto the wall from the upper left corner. As you move down the wall, press and smooth the wallpaper against the wall while peeling off the remaining backing. Using downward strokes, run a squeegee (plastic smoothing tool) along the wall to remove air bubbles as you move down the surface.
3. Book the Wallpaper.
Lay the wet wallpaper on your drop cloth, design side down. Fold the bottom edge toward the middle;
then repeat with the top edge. Wait 60 seconds.
then repeat with the top edge. Wait 60 seconds.
4. Line Up + Level.
Line up the panel with the ceiling and wall. Use a small level to assist with panel levelness during the install. Wallpaper should slide easily to adjust.
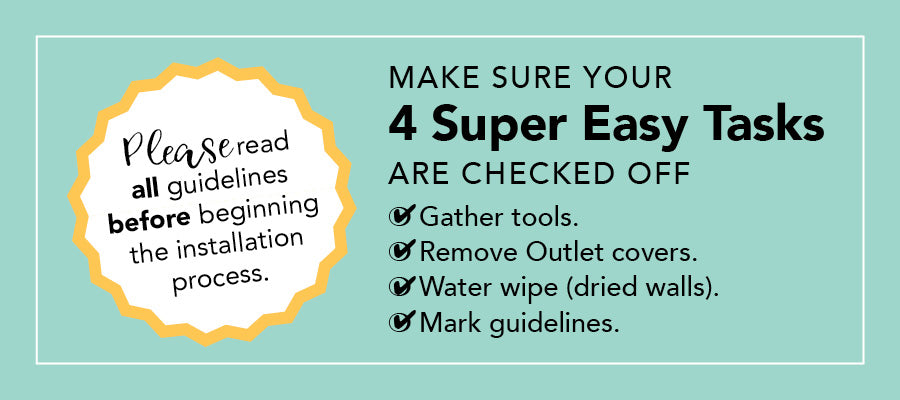
- Don’t follow the ceiling. Although, it's tempting to line the top of your wallpaper with the ceiling, ceilings aren’t always perfectly straight. Instead, use the vertical and horizontal guidelines you drew earlier.
- If the wall and/or ceiling are not plumb, you may need to overlay the panel onto the adjoining wall and/or ceiling and cut excess away at the end of the install.
- Smooth/Squeegee from the center, then down and outwards to push any bubbles to the edge of the paper.
Wallpaper should slide easily to adjust. - Don’t pull the wallpaper too hard as it can potentially stretch, preventing edges from lining up perfectly.
5. Continue Unfolding.
When you reach the bottom half, unfold and apply as you did the top portion.
6. Overlap + Match + Repeat.
Now that the first panel is done, you got this! Grab Panel #2. Line up the wallpaper pattern as close as possible to ensure a seamless look. To match the pattern, you'll have to overlap Panel #2 slightly with the long edge of Panel #1 (MyWallImages allows 3/4” overlap). After you've smoothed the panel, run squeegee along the seam overlap to ensure it is flat.
- How to Work Around Windows and Outlets. Allow the wallpaper to overlap any window or outlet. You may need to cut a few relief snips diagonally toward the corner/edge. Smooth the wallpaper along the wall and around all sides of the outlet or window. Trim any excess paper.
- You do not need to trim the overlap between the panels as this makes sure the panels line up.
7. Sponge + Smooth.
Use the sponge to remove any excess adhesive. Smooth a dry towel over the wallpaper to make sure all adhesive drops are gone.
8. Trim + Smooth Edges.
Once your wall has been covered in your amazing new wallpaper (!), use a metal ruler and utility or craft knife to carefully cut along the baseboard and remove any excess. Use your smoothing tool to ensure all the tops, bottoms, and seams of the panels are nice and tight against the wall.
- New Blade and Straight Edge Ruler Recommended. Make sure the blade is brand new to prevent fraying. Use a straight edge to help press the wallpaper into the wall for a more exact cut.
9. Final Bubble Check.
If any air bubbles remain, use the tip of your knife or a pin to create a small hole in the middle of the bubble. Simply press down to release the air trapped inside and smooth the wallpaper.
10. Add Covers + ENJOY!
Once you’ve smoothed out the wallpaper, you can start adding outlet covers back to walls and bring furniture back into the room. Enjoy your updated space!
How to Remove Water-activated Wallpaper
Wallpaper should remove easily with water. Turn off electricity to power outlets when using water. Soak a very large sponge in water. Wet the wall, allowing the adhesive to soften. Once wallpaper is saturated, peel back slowly starting at the top of the wall. Wallpaper should remove in one piece. Add additional water if paper is not coming off easily. Wipe wall with moist towel to remove any additional adhesive. Throw wallpaper away after removal.


